HOW DO I MAKE MY TIRES TUBELESS?
Are you considering going tubeless but don't know where to start? Then read on, because in this article, we'll explain how you can easily convert your tires to tubeless and what you'll need.
TUBELESS, WHAT IS IT?
Have you heard the term "tubeless" somewhere but aren't sure what it means? Tubeless means riding without an inner tube, without a tube.
WHAT DO I NEED?
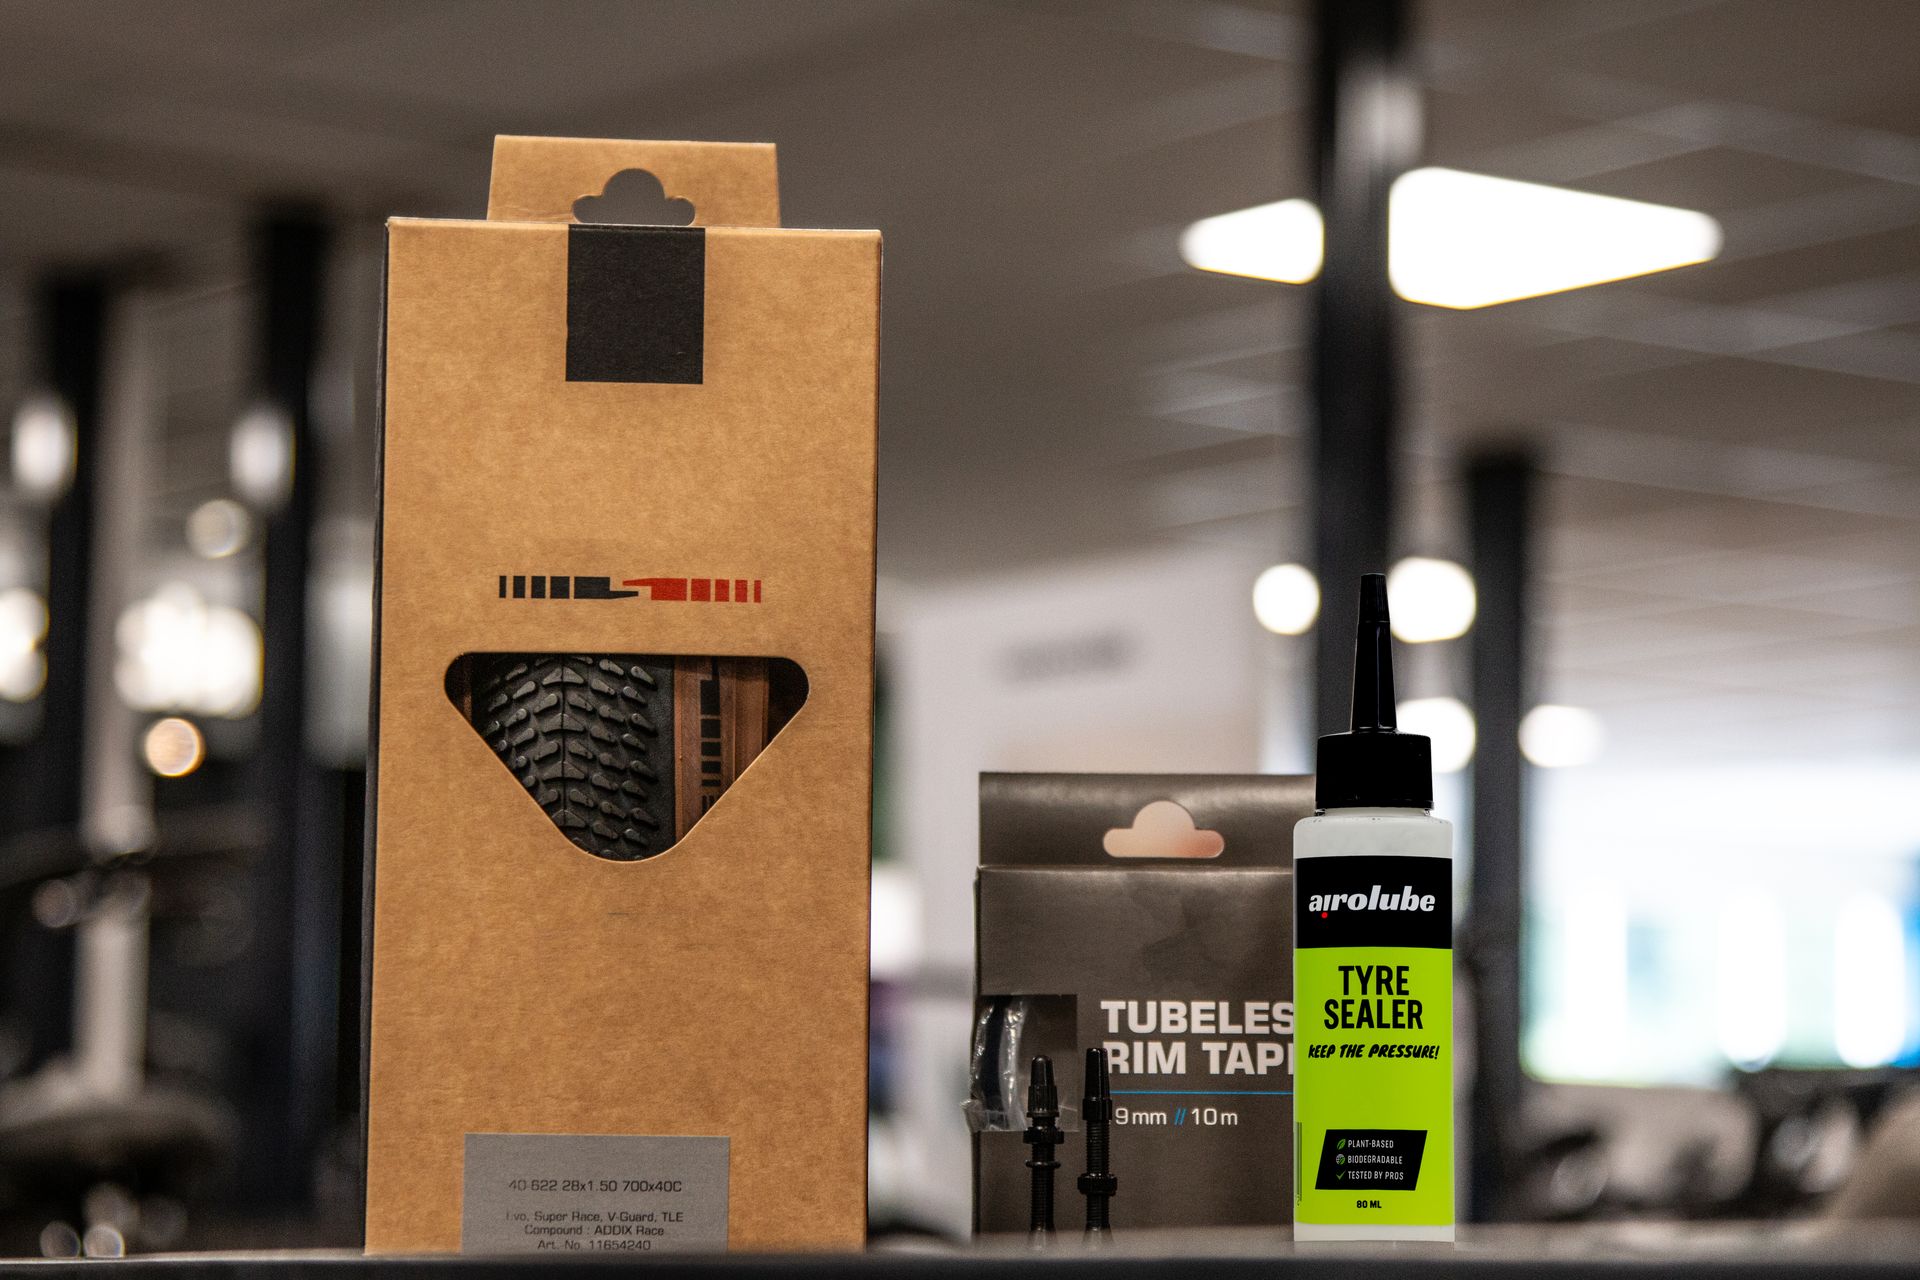
If you want to make the switch and get rid of your inner tube, you'll need the following to make a successful transition:
- Tubeless ready wheels
- A tubeless valve, which is often included with the wheels or available separately
- Rim tape
- Tubeless rim tape
- Tubeless vloeistof (Tyre Sealer)
- And of course, a bicycle pump or air compressor.
There are various types of tubeless sealants available. Essentially, they are all designed to seal small holes in the tires and, in case of a puncture, locate and seal the hole. The tubeless sealant or latex seals the puncture in the tire itself, depending on the size and type of puncture. Many tubeless sealants, however, contain ingredients that are not very environmentally friendly. Tyre Sealer is an environmentally friendly alternative as it utilizes plant-based ingredients.
HOW DO I MAKE MY TIRES TUBELESS?
Install the rim tape
Check if your rims already have rim tape. It's easy to see: do you see the spokes on the inside of your rim? Then you need to install rim tape yourself. Is the inside smooth? Then you can skip this step. If you need to install rim tape, make sure it goes all the way around the wheel and overlaps the rim tape by about 30 cm, also covering the valve hole. Finally, make a small hole near the valve hole, where the tubeless valve will go through. Make sure it's a round hole, so use a needle, pin, or awl to do this. This prevents the hole from tearing.
Install the tubeless valve
Now that you've made the hole in the rim tape, gently insert the tubeless valve through it and screw on the nut. Tighten the nut securely, but remember, "tight is tight." If you overtighten it, you risk damaging the rim.
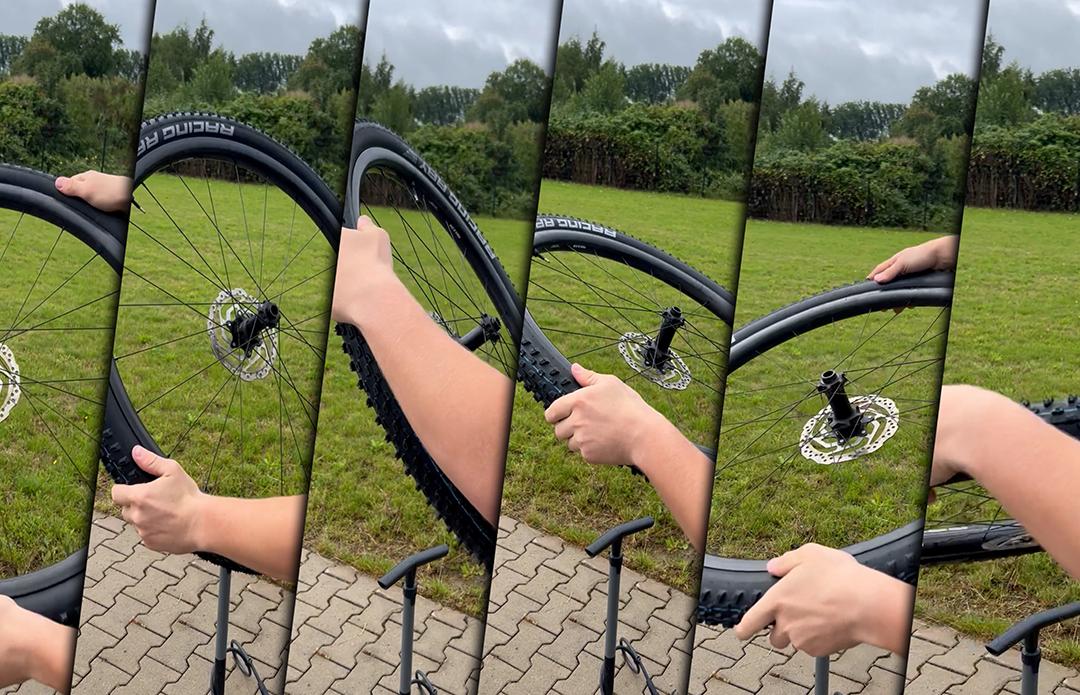
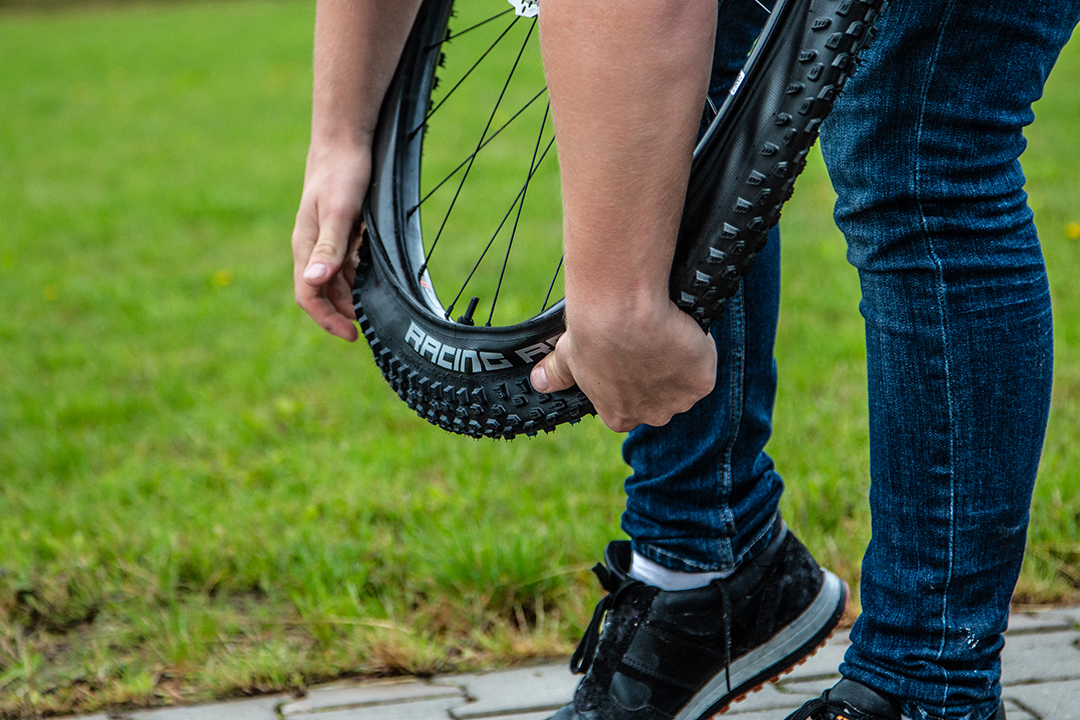 Mount the tires on the rim
Now it's time to place your tubeless ready tires on the rim. Start exactly opposite the valve and work your way around to the valve.
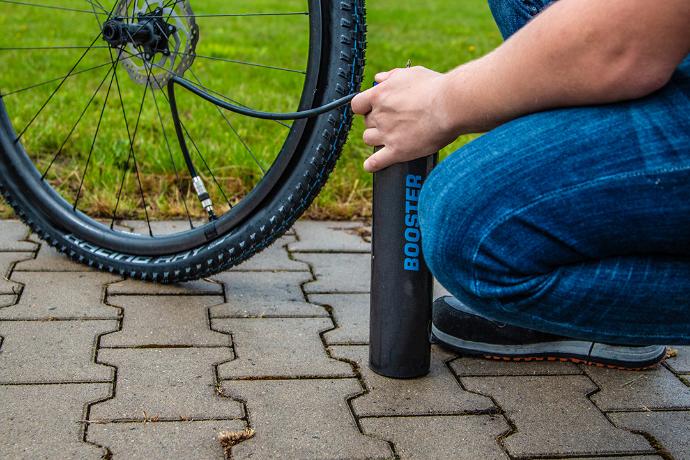 Inflate the tire
Secure the tires onto the rim without sealant. Inflate the tire; this is easiest with a compressor, but it can also be done with some effort using a regular pump. You'll know the tire is properly seated on the rim when you hear a loud pop. If you've inflated the tire firmly and haven't heard anything yet, release the air and pump again. Sometimes this might need to be done 2 or 3 times. The pop comes from the tire beads locking onto the rim.
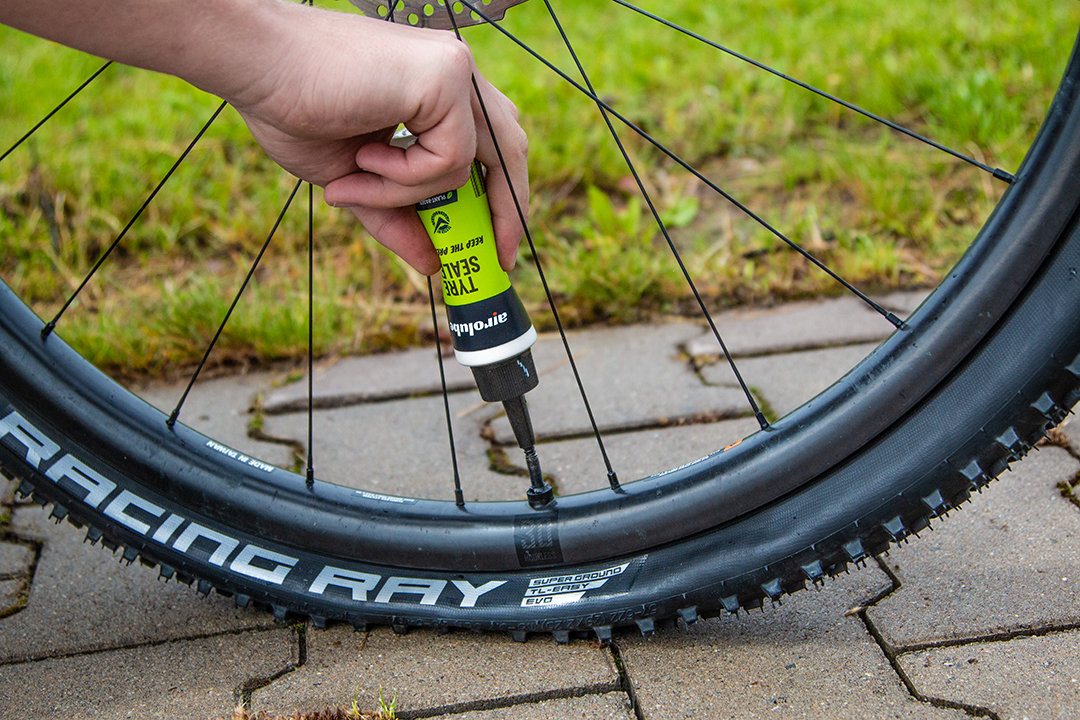 Apply the tubeless sealant
Now that the tires are properly on the rim, it's time to add the sealant. This can be done in two ways: the first is through the valve, generally the preferred method. In this case, remove the valve core from the valve and pour the sealant into the tire through the valve. Alternatively, you can loosen a small section of the tire and pour the sealant directly into the tire. In this case, using a tire lever can be helpful.
Different tires require different amounts of tubeless sealant:
- MTB 29": 80 ml
- MTB 26": 60 ml
- Cross/Gravel: 60 ml
- Racefiets: 40 ml
These quantities are based on Tyre Sealer. If you're using a different brand of tubeless sealant, consult the packaging for the correct quantities. After adding the sealant, screw the valve core back into the valve and pump the tire to the correct pressure.
 Ensure the sealant covers the entire tire
Spin the wheel with the tire and tilt it slightly from side to side. This ensures the sealant covers the entire inner surface of the tire. After doing this, you can mount the tire on the bike and go for a ride.

Since you've just converted your tires to tubeless, you might need to inflate them a bit more frequently in the first few days.
Because the sealant needs to work and seal the small holes in the tires, a reasonable amount of air may escape during the first 24 to 48 hours. Simply pump the tire a few times to the correct pressure. If the tire still loses air quickly after 48 hours, check if you followed all the steps correctly, whether your rim or tires may not be suitable for tubeless use, or add extra sealant.
Oh, and if you get a flat, refill the sealant by repeating the last steps. Keep in mind that tubeless sealant dries out in the tire. How quickly this happens depends on weather conditions, whether you've had a puncture or not, and whether you've stored your bike in a warm or cold place. Check every 4 weeks if your tubeless sealant is still liquid. Just give the wheel a quick shake and listen. If the sealant is no longer liquid, you can replenish it by repeating the last 2 steps. Every six months, remove your tires completely from the rim to remove dried sealant from the tires. This prevents your bike from unnecessarily gaining too much weight. Every gram counts, right?
ARE YOUR TIRES SUITABLE?
Note: some wheels cannot be converted to tubeless. But most modern wheels are already "tubeless ready." With more expensive wheels, rim tape is often already installed, and a tubeless valve is included, but this is not always the case. Therefore, always check the manufacturer's instructions for your wheels. If you need to buy a tubeless valve, pay attention to the valve height, as it depends on your rim.
On tires labeled with terms like TLR (Tubeless Ready) or TLE (Tubeless Easy), they are suitable for tubeless. By now, almost every serious tire manufacturer offers tubeless tires in their range, so chances are high that your favorite brand also has tubeless tires.